Best Portrait Lightroom Presets for Dark Skin Tones 2025
🕑 7 min read
Table of Contents
Professional portrait photographers know that great editing is half the job. The best portrait lightroom presets for dark skin tones deliver beautiful, flattering results consistently across diverse subjects, lighting conditions, and shooting scenarios — without the hours of manual correction that custom-per-image editing requires. The Shut Your Aperture Portrait Preset Pack includes 50 hand-crafted portrait presets covering every common shooting scenario, with skin tone calibration that flatters every complexion and lifetime updates included.
Get the Portrait Preset Pack — 50 Presets, $49
Buy Now →What Great Portrait Lightroom Presets For Dark Skin Tones Editing Delivers
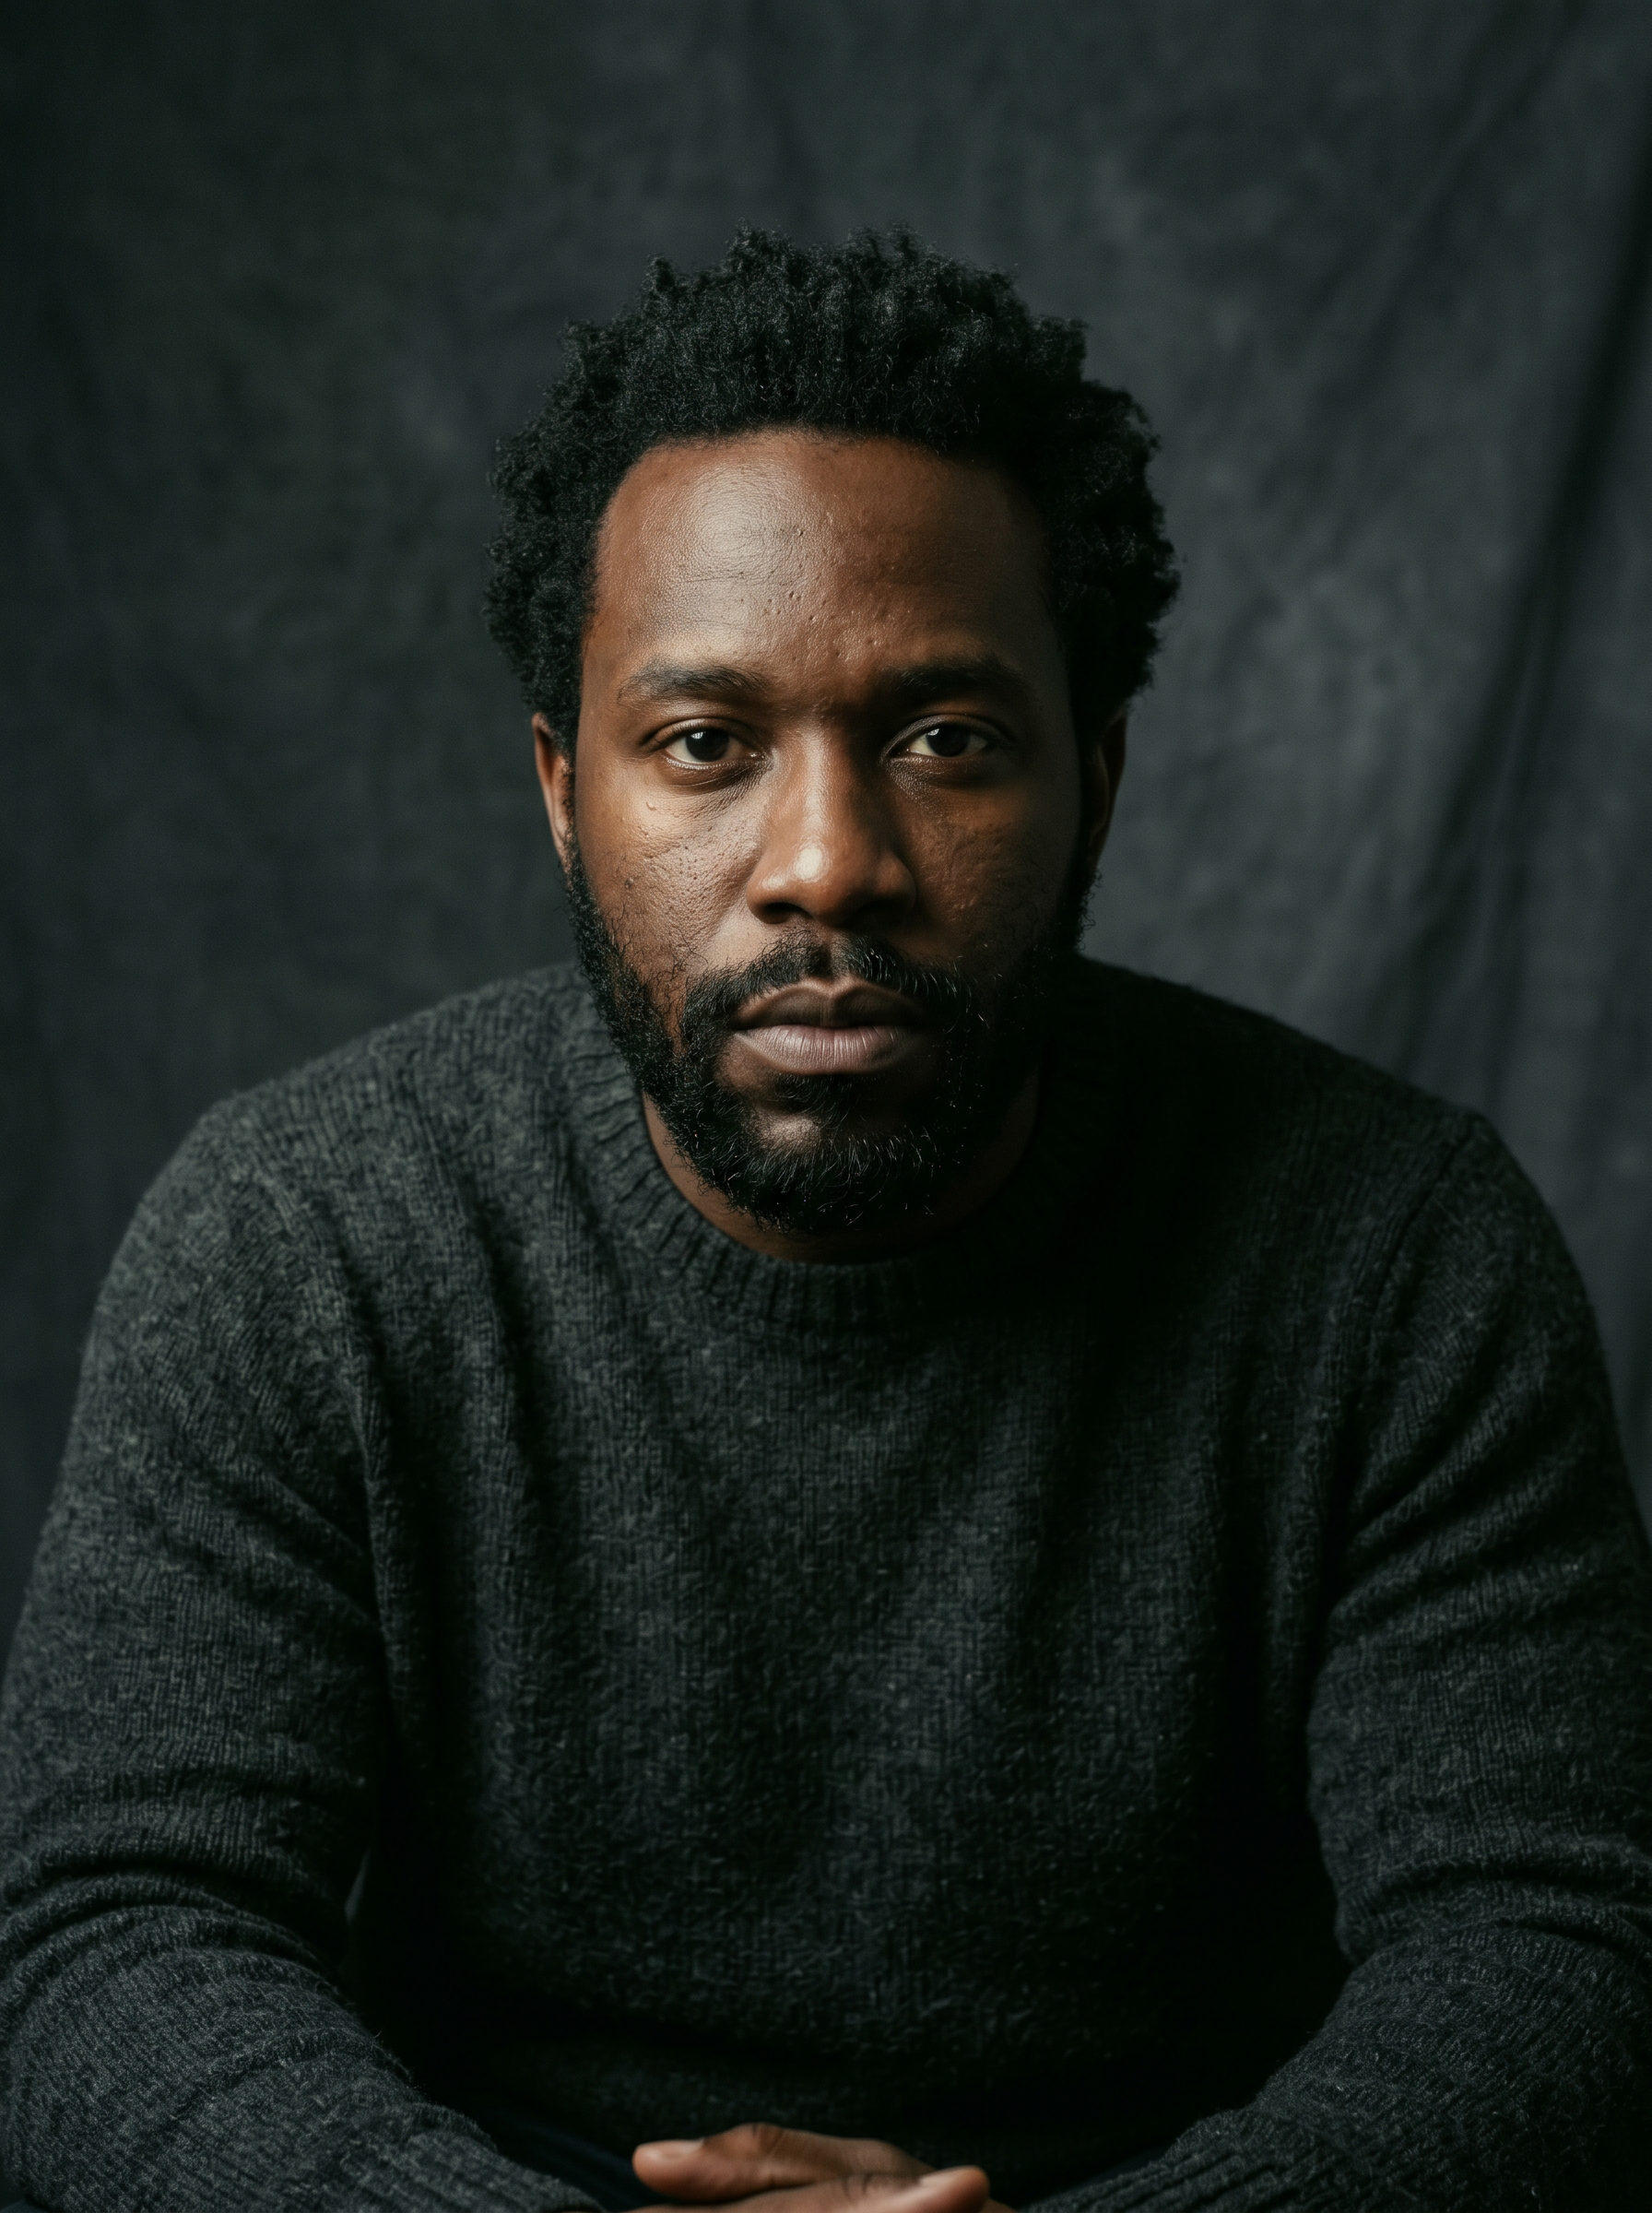
Portrait editing has one paramount requirement above all others: accurate, flattering skin tone rendering. Any preset that compromises skin tones — making them too warm, too cool, too orange, or too gray — fails regardless of how beautiful the rest of the image looks. The best portrait presets achieve their signature aesthetic while maintaining natural, beautiful skin tones across a broad range of complexions. This requires thoughtful calibration of the HSL panel’s orange and red channels, the tone curve’s shadow response, and the white balance offset — not just a simple color cast applied globally.
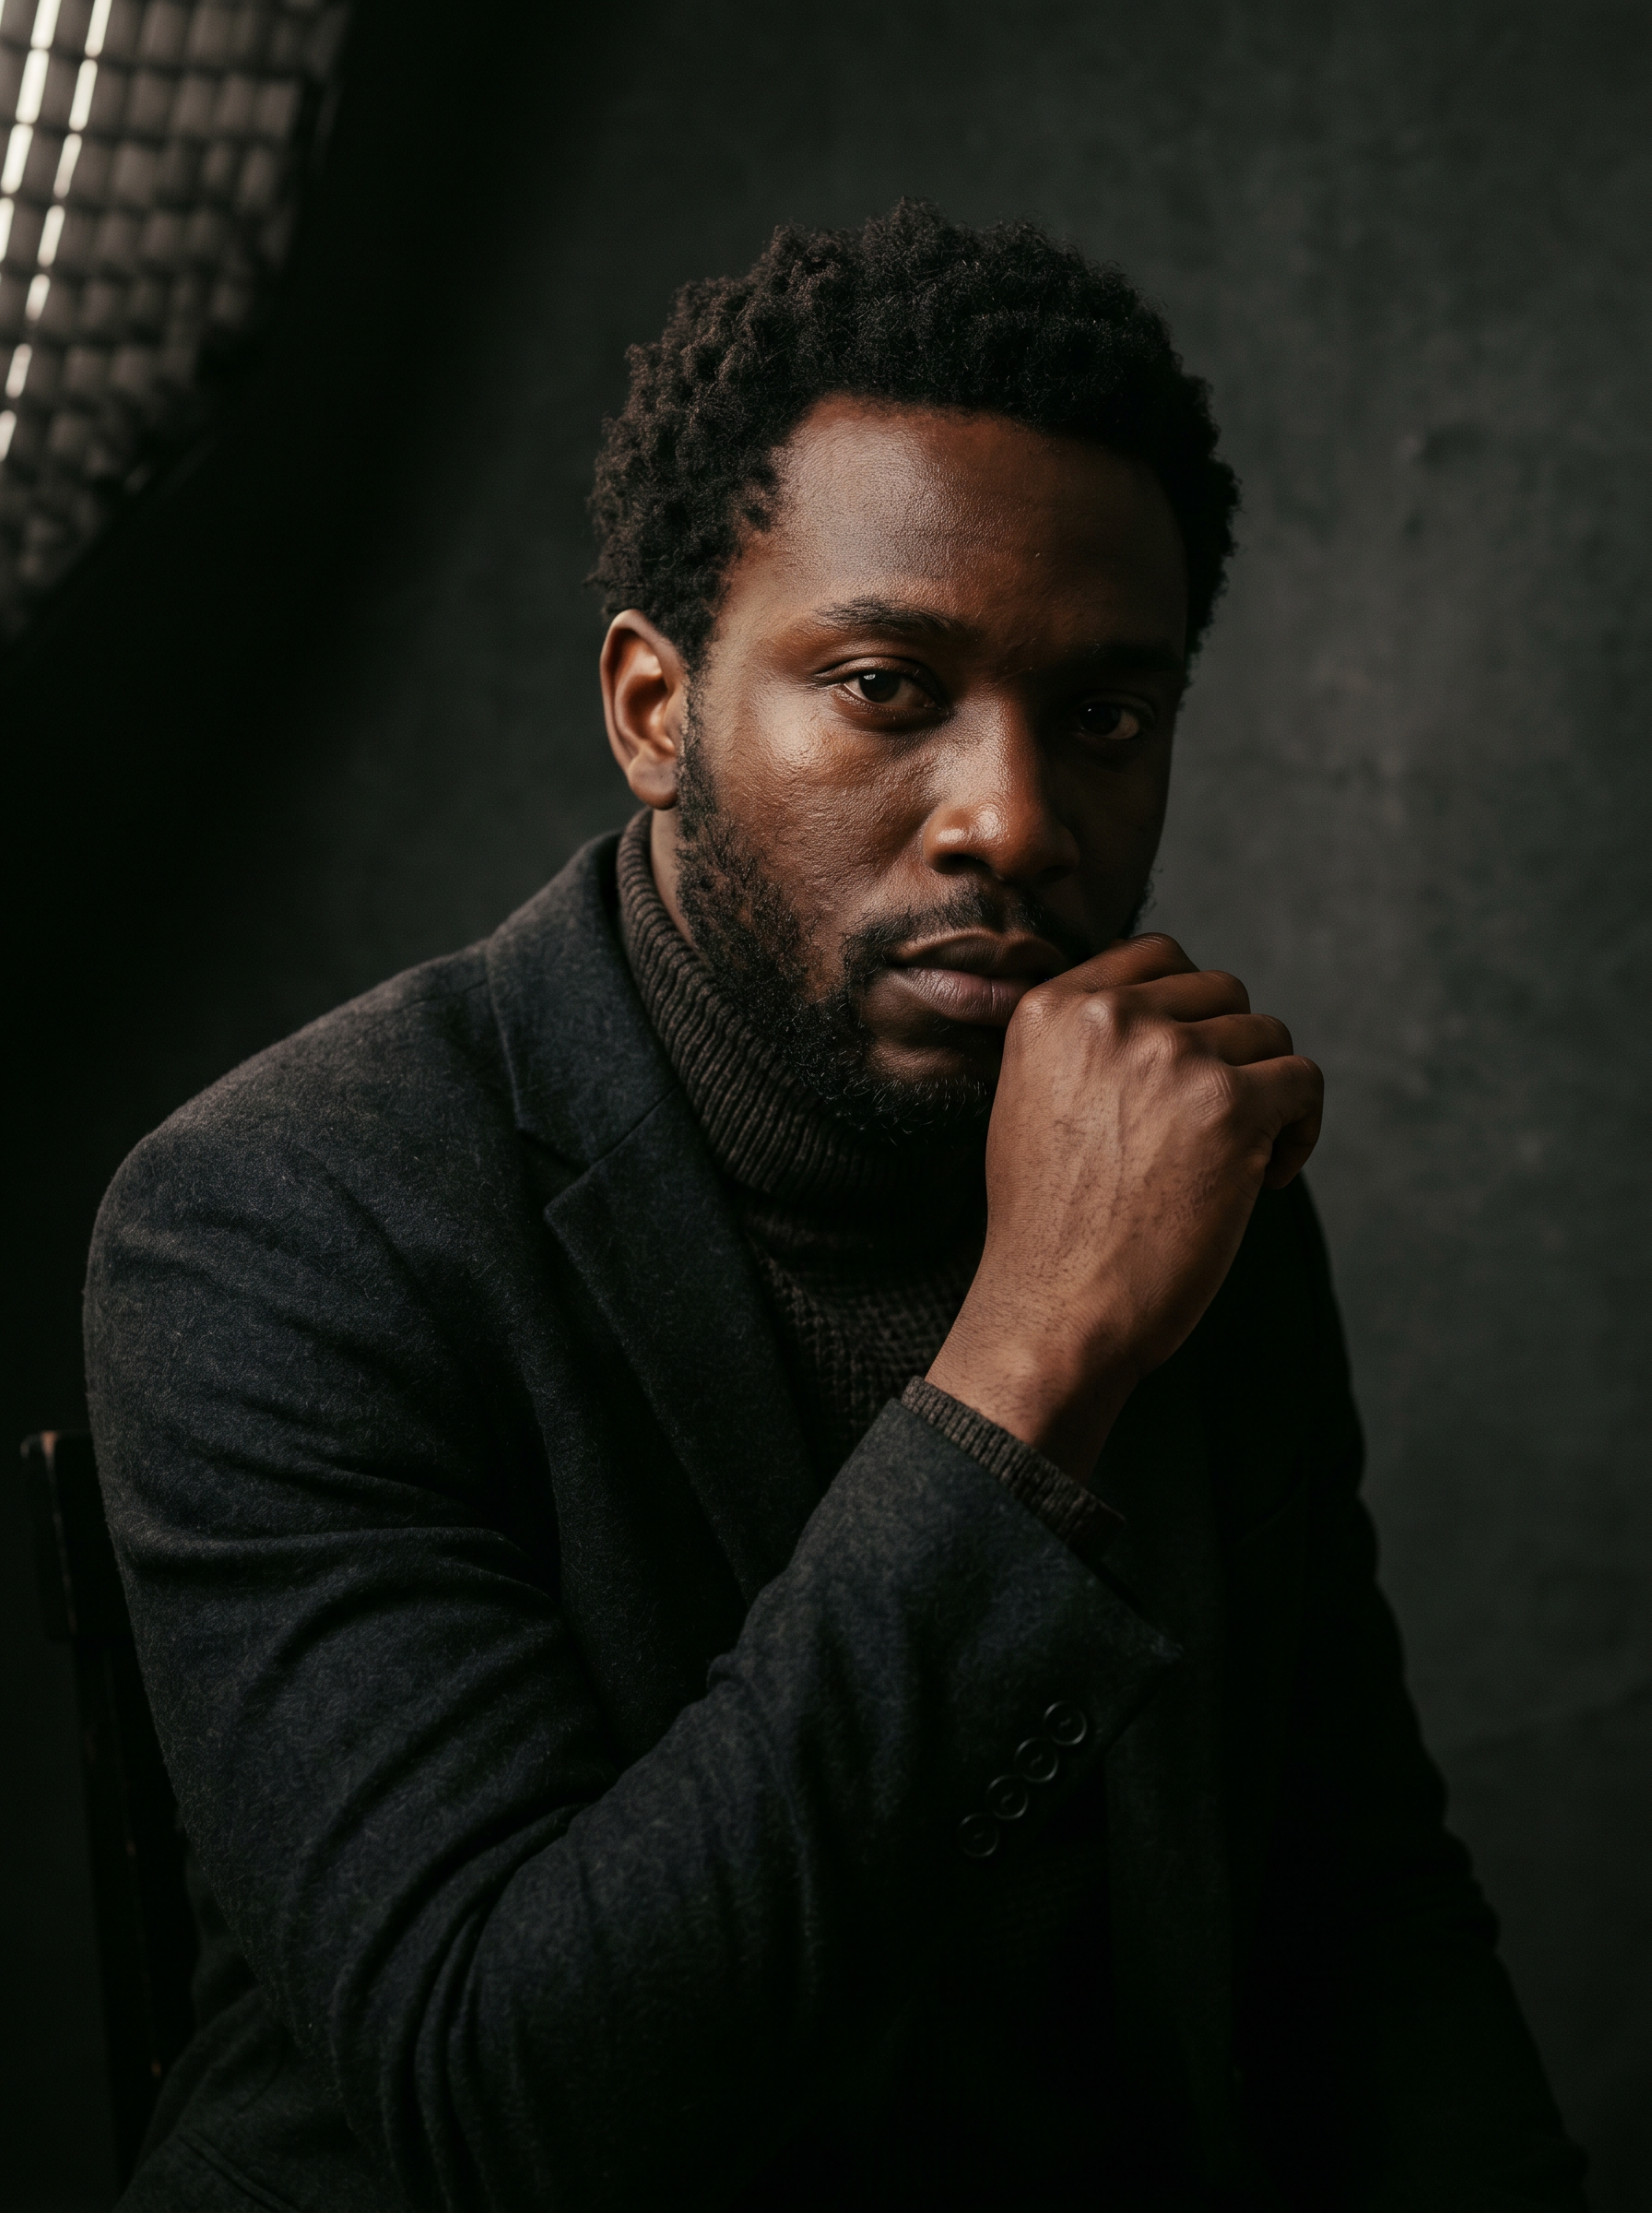
The second requirement of great portrait editing is appropriate sharpening and texture treatment. Faces require careful clarity management: too much clarity and the preset creates unflattering texture on skin; too little and faces look soft and lacking in professional quality. Great portrait presets achieve skin smoothness where it is desirable (cheeks, forehead) while maintaining detail sharpness where it matters (eyes, eyebrows, lips, hair). This selective approach cannot be achieved through global sharpening alone — it requires preset architecture that balances texture, clarity, and sharpening with the portrait subject in mind.
The third pillar is background treatment. Portrait backgrounds — whether studio backdrop, environmental location, or studio paper — need to read as supporting the subject without competing with them. A great portrait preset produces appropriate background tone and color that gives the subject visual priority without flattening the environmental context into gray mush.
How the Portrait Pack Achieves This
The Portrait Preset Pack was built with skin tone accuracy as the primary design criterion. Every preset was tested against a diverse panel of reference subjects with light, medium, and dark skin tones before release. Any preset that produced an unacceptable color cast on any skin tone in the reference panel was revised until it rendered accurately across the full range. This process ensures that the pack delivers professional results on every portrait subject without requiring per-subject adjustments.
Sharpening in the portrait presets uses a masking slider of 40–60 to restrict sharpening to high-contrast edges (eyes, hair, clothing) while leaving smooth skin areas unsharpened. This produces the characteristic “sharp eyes, smooth skin” look that portrait photographers associate with professional retouching, in a single preset application without any manual masking or retouching work in post.
- 50 presets covering studio, outdoor, environmental, and lifestyle portrait scenarios
- Skin tone calibration tested across light, medium, and dark complexions
- Selective sharpening: sharp eyes and hair, smooth skin preservation
- Background tone management that supports subject without competing
- Suitable for headshots, boudoir, fashion, family, and lifestyle photography
- Works in Lightroom Desktop, Classic, Mobile, Photoshop, Camera RAW
5 Essential Portrait Preset Techniques
- Eye Pop Enhancement: After applying your preset, use an adjustment brush on the eye area with +0.3 exposure, +10 clarity, and +10 sharpness. This targeted enhancement makes eyes the undeniable focal point of every portrait.
- Skin Smooth Refinement: For portraits requiring extra skin smoothness, add an adjustment brush on the skin with -20 texture and -10 clarity. This selective softening complements the preset’s global skin rendering without over-processing the full image.
- Background Darkening: Use a graduated or radial filter on the background with -0.5 EV and -10 saturation. This darkens and desaturates the background subtly, pushing the subject forward visually without altering the foreground preset result.
- Split Toning Fine-Tune: If the preset’s color grade does not precisely match the mood of a specific portrait session, adjust the Color Grading panel’s highlight hue and saturation ±5 to shift the overall tonal flavor while maintaining the preset’s core character.
- Batch by Subject: Sort portraits by subject rather than chronological order for batch preset application. Each subject has slightly different skin tone response — a minor WB or tint adjustment per-subject synced across their full set produces consistently excellent results.
Portrait Preset Pack
50 hand-crafted Lightroom presets — $49
- ✓ 30-day money-back guarantee
- ✓ Lifetime updates included
- ✓ Lightroom Desktop, Classic & Mobile
- ✓ Photoshop & Camera RAW compatible
- ✓ One-click apply, fully adjustable
Buy Portrait Preset Pack — $49 →
Skylum’s Aperty is purpose-built for portrait retouching with AI skin, eye and detail enhancement. Luminar Neo’s Portrait AI complements it for full-body and editorial work. Tagged as affiliate per FTC.
Frequently Asked Questions
- Why do generic presets often fail on dark skin tones?
Generic presets are typically calibrated using light-skin reference subjects. On dark skin, these presets often produce unwanted color casts (purple, green, or gray) in the mid-shadow range of the skin, or over-expose highlights and lose detail in the lightest tonal areas of dark skin.
- What makes a preset safe for dark skin tones?
A safe dark-skin preset uses HSL orange and red channel calibration that protects the full tonal range of dark skin, avoids heavy blue-cyan shadow splits that produce grayish skin in dark complexions, and maintains a neutral shadow tone in the skin-adjacent tonal range.
- Do these presets work for boudoir and fashion photography with darker-skinned subjects?
Yes. The portrait pack’s dark skin calibration works across portrait sub-genres including headshot, boudoir, fashion, and lifestyle photography. The skin tone protection remains consistent across all composition styles.
Get the Bundle and Save
If you shoot multiple genres, the Ultimate Bundle delivers all four preset packs for just $129. That is over 200 presets covering every lighting scenario in a professional career. Browse all four preset packs or grab the bundle for instant access to everything.
Ultimate Bundle — All 4 Packs — $129
Get the Ultimate Bundle →Great portrait editing is the foundation of a thriving photography business. The Portrait Preset Pack gives every client a beautifully rendered image that makes them look their best and keeps them coming back for more sessions. Invest in your editing workflow today.